How to Clean C Drive on Windows 11 (Free Up 20GB+ Safely)
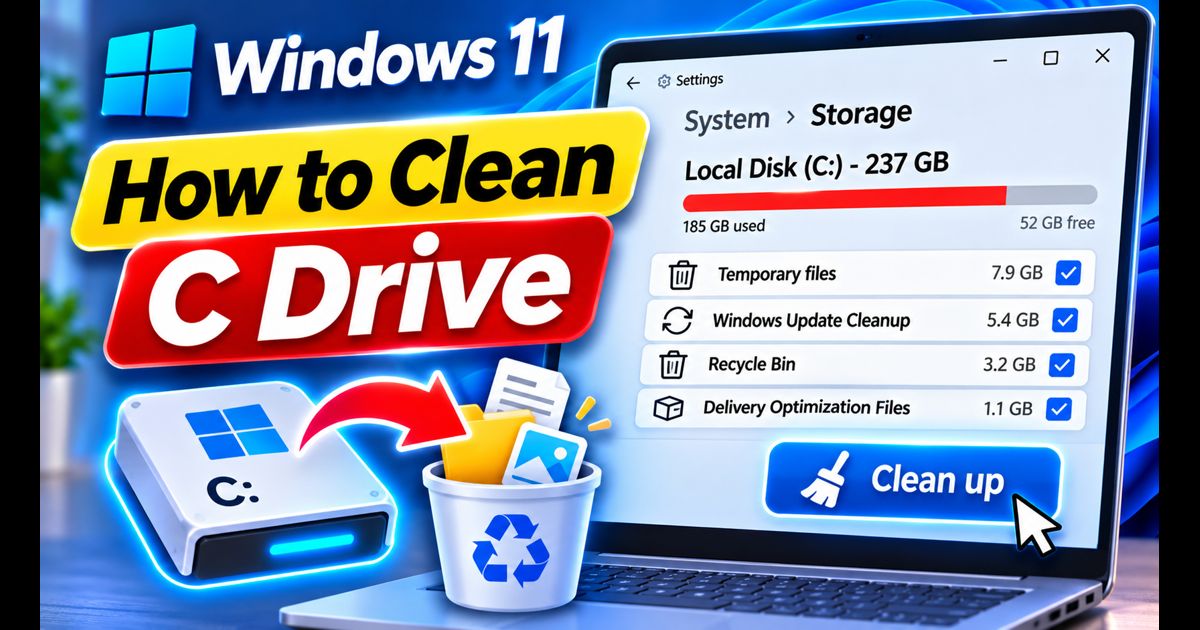
Seeing the red capacity bar appear next to your Local Disk (C:) in File Explorer is a stressful sight. A congested system drive does more than prevent new software installations—it severely degrades Solid State Drive (SSD) write endurance and causes system-wide stutters because Windows cannot allocate dynamic swap memory or temp files properly.
Fortunately, you do not need to buy a larger drive or install aggressive third-party cleaner tools. By using Windows 11 native storage managers and safe terminal commands, you can comfortably reclaim anywhere from 10GB to 30GB of wasted storage in under five minutes.
Quick Answer: The Safest Way to Clean C Drive on Windows 11
To free up space immediately, open Settings > System > Storage > Temporary files. Check Previous Windows installation(s), Windows Update Cleanup, and Temporary files, then click Remove files. This single step frequently purges 15GB to 25GB of obsolete backup files safely without touching your personal documents or desktop photos.
1. Purge Obsolete Windows Updates and Windows.old Folders
Whenever Windows 11 installs a major feature update (such as 23H2 or 24H2), it archives your entire previous operating system build in a hidden folder named Windows.old. If your computer has been operating stably for over ten days, this archived copy is unnecessary dead weight.
- Press Windows Key + I to launch the Settings app.
- Navigate to System, then select Storage.
- Wait a few moments while Windows calculates drive usage, then click on the Temporary files category.
- Carefully review the itemized list. Ensure the following high-capacity checkboxes are marked:
- Previous Windows installation(s): Often occupies 15GB - 30GB.
- Windows Update Cleanup: Leftover installation packages (often 2GB - 6GB).
- Delivery Optimization Files: Downloaded update caches shared with local devices.
- Thumbnails & Temporary Internet Files: Safe cache data.
- Caution: Leave Downloads unchecked if you keep important files in your primary Downloads folder.
- Click the Remove files button at the top of the window and confirm.
Pro Tip: Clearing junk files works hand-in-hand with our guide on how to speed up Windows 11 to keep your computer running like new.
2. Automate Maintenance with Storage Sense
Instead of manually scrubbing your drive every month, configure Windows 11 to purge background cache files automatically on a rolling schedule.
- Under Settings > System > Storage, locate the Storage management header.
- Toggle Storage Sense to the On position.
- Click on the Storage Sense arrow to access its configuration menu.
- Set Run Storage Sense to Every week or During low free disk space.
- Configure Delete files in my recycle bin if they have been there for over to 14 days or 30 days.
- Set local downloaded cloud content (OneDrive / Dropbox) to revert to online-only placeholders if unopened for 30 days.
3. Disable the Hibernation File (Reclaim 8GB to 32GB Instantly)
Windows reserves a persistent system file called hiberfil.sys on your C drive. Its size directly mirrors your installed physical RAM (e.g., if you have 16GB or 32GB of RAM, this file silently hoards 12GB to 25GB of disk space). If you use a desktop PC or standard laptop sleep mode rather than deep Hibernate, you can disable this file completely.
- Press Windows Key + S, type cmd, and click Run as administrator.
- In the command prompt window, type:
powercfg -h off - Press Enter.
- The command will execute silently, instantly deleting
hiberfil.sysand returning its full gigabyte allocation to your available free space.
Note: If you ever wish to re-enable hibernation in the future, simply run powercfg -h on in an administrator prompt.
4. Uninstall Unused Apps and High-Volume Bloatware
Modern gaming titles, pre-loaded manufacturer utilities, and unneeded store apps quietly monopolize system storage over time.
- Navigate to Settings > Apps > Installed apps.
- Click the Sort by dropdown menu at the top right and select Size (Large to small).
- Inspect the top-tier items consuming multi-gigabyte footprints.
- For built-in sponsored packages that refuse standard removal, consult our comprehensive guide on Windows 11 bloatware removal using clean PowerShell commands.
What Is Safe to Delete from C: Drive?
| Item / File Category | Safe to Delete? | Potential Space Saved |
|---|---|---|
| Windows.old / Previous Installs | 100% Safe (If system is stable) | 15GB - 35GB |
| Windows Update Cleanup | 100% Safe | 2GB - 8GB |
| hiberfil.sys (Via powercfg) | Safe (If not using Hibernate) | 8GB - 32GB |
| Temporary Files / Prefetch | 100% Safe | 1GB - 5GB |
| Delivery Optimization Cache | 100% Safe | 500MB - 3GB |
| System32 / WinSxS / Program Files | NEVER Touch Manually | Will brick Windows installation |
5. Run the Deep Component Store Cleanup (DISM)
Over time, the Windows Component Store (the C:\Windows\WinSxS folder) accumulates superseded package versions that standard disk cleanup utilities cannot touch.
- Open Command Prompt as Administrator.
- Enter the following maintenance command and hit Enter:
Dism.exe /online /Cleanup-Image /StartComponentCleanup /ResetBase - Allow the process to reach 100%. This removes outdated components and reduces the permanent footprint of the WinSxS directory safely.
Frequently Asked Questions
Can I delete the WinSxS folder directly in File Explorer?
No. You must never delete files directly from the WinSxS folder using File Explorer. Doing so corrupts core Windows servicing binaries and prevents your system from booting or installing future security updates. Always use the DISM command outlined above.
How much free space should I always keep on my C drive?
As a best practice for modern NVMe and SATA SSDs, maintain at least 15% to 20% free capacity on your C drive. SSD controllers rely on this empty buffer space for wear leveling, garbage collection, and dynamic SLC cache caching.