How to Screen Record on Windows 11 with Audio (3 Free Ways)
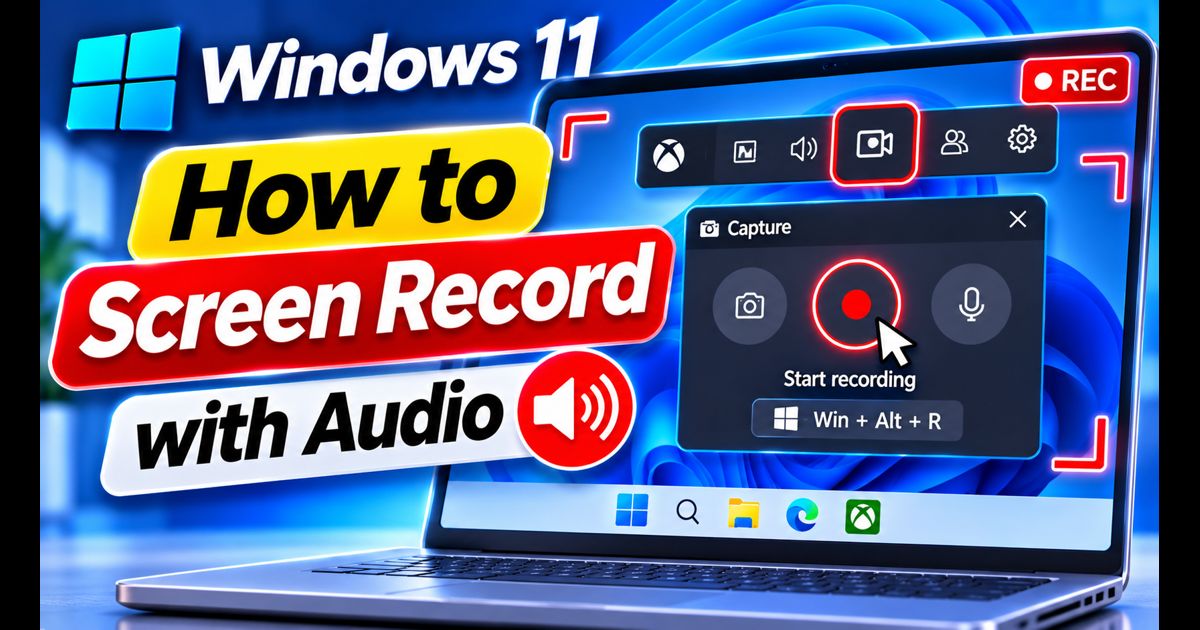
Whether you need to record a software tutorial, capture a presentation meeting, or document an unexpected technical glitch, screen recording is an essential computing task. Unfortunately, many users end up downloading bloated third-party trialware that imprints ugly watermarks or charges monthly fees for basic audio capture.
Windows 11 includes powerful built-in screen capture tools that record both internal system audio (what you hear through your speakers) and your external microphone simultaneously—without watermarks, time limits, or extra costs.
Quick Answer: The Fastest Way to Record Screen with Audio
To record your screen with audio on Windows 11, press Windows Key + Shift + R to launch the native Snipping Tool video recorder. Drag a box over your recording area, click the Microphone icon to enable voice input, and ensure the Mute system audio icon is toggled off. Click Start to begin recording.
Method 1: Using the Native Windows 11 Snipping Tool
In modern updates of Windows 11, the classic Snipping Tool received a major overhaul, adding native MP4 video recording with full multi-channel audio support.
- Press Windows Key + Shift + R (or press Windows Key + Shift + S, then click the video camera icon at the top).
- Click and drag your cursor across the screen to select the exact capture region (you can select a specific window or drag corner-to-corner for full screen).
- On the floating top control bar, look for the audio toggles:
- Device Audio (Speakers icon): Turn on to capture in-game sounds, YouTube audio, or meeting voices.
- Microphone Audio (Mic icon): Turn on to record your voice commentary.
- Click the red Start button. A 3-second countdown will appear before recording begins.
- When finished, click the red Stop button on the top bar.
- The Snipping Tool preview window will open immediately. Click the Save (Disk icon) or press Ctrl + S to export your video as an MP4 file.
Performance Tip: High-resolution screen recording generates large video files. If your capture drive is running low on space, read our guide on how to clean C drive on Windows 11 to prevent sudden recording cutoffs.
Method 2: Using the Xbox Game Bar (Windows Key + G)
If you need to record high-framerate gameplay or a full single-application window, the Xbox Game Bar provides an accelerated hardware capture pipeline backed by your graphics card.
- Open the app or game you want to capture (Game Bar cannot capture your desktop wallpaper or File Explorer).
- Press Windows Key + G to bring up the Game Bar overlay.
- Locate the Capture widget in the upper-left corner.
- Ensure the Microphone icon is unmuted if you plan to speak.
- Click the round Record button (or use the instant shortcut Windows Key + Alt + R).
- A small recording status timer will dock on the side of your monitor.
- To stop, press Windows Key + Alt + R again. Your MP4 video is automatically saved to
Videos \ Captures.
Method 3: Using OBS Studio (For Advanced & Multi-Track Audio)
For professional streamers, educators, or users who need separate audio tracks (editing microphone volume independently from game audio), OBS Studio is the gold standard free and open-source utility.
- Download and install OBS Studio from its official open-source repository (obsproject.com).
- Under the Sources dock at the bottom, click the + button and choose Display Capture.
- In the Audio Mixer dock, you will see separate sliders for Desktop Audio and Mic/Aux.
- Adjust the volume sliders so your voice peaks comfortably in the yellow zone (-12 dB to -6 dB).
- Click Start Recording on the right controls panel. When finished, your recording is saved without any watermarks.
Comparison: Which Recording Tool Should You Choose?
| Feature / Requirement | Snipping Tool | Xbox Game Bar | OBS Studio |
|---|---|---|---|
| Installation Needed? | None (Built-in) | None (Built-in) | Yes (Free Open Source) |
| Capture Full Desktop? | Yes (Custom area or full) | No (Active app only) | Yes |
| Internal + Mic Audio? | Yes | Yes | Yes (Multi-track) |
| Performance Overhead | Very Low | Low (Hardware NVENC/AMF) | Low to Moderate |
| Watermark / Time Limit | None | None (Up to 4 hours) | None |
Troubleshooting: Why Is There No Audio in the Recording?
If your exported video plays back in complete silence, check these three common configuration roadblocks:
- Microphone Privacy Permissions: Windows 11 blocks apps from accessing your mic by default. Go to Settings > Privacy & security > Microphone and ensure Let apps access your microphone is toggled On.
- Incorrect Audio Output Device: If you are wearing Bluetooth headphones, make sure your Windows sound output isn't splitting communications audio from default playback.
- Background CPU Throttling: If the recording stutters or drops audio frames, consult our guide on how to speed up Windows 11 to adjust background power plans.
Frequently Asked Questions
Can I screen record on Windows 11 without Xbox Game Bar?
Yes. The built-in Snipping Tool (Windows Key + Shift + R) records full desktop screens and window regions with complete internal audio and microphone capture without ever touching Xbox Game Bar.
What video format does Windows 11 use for screen recordings?
Both the native Snipping Tool and Xbox Game Bar export standard H.264 video encoded in the MP4 container format, ensuring immediate compatibility with media players, YouTube, and video editors without conversion.